

Hello world app.
What you’ll learn
- Setting up a development environment using a starter repository
- Generating dependency and executable targets with Gazelle
- Understanding how
npm_link_all_packagesandjs_binarywork together - Building and running your first JavaScript application with Bazel
Get started
The following steps will guide you through setting up your development environment and running your first Bazel app.Setup a development environment
Navigate to the aspect starter repository, to access a ready to use developer environment already set up for you.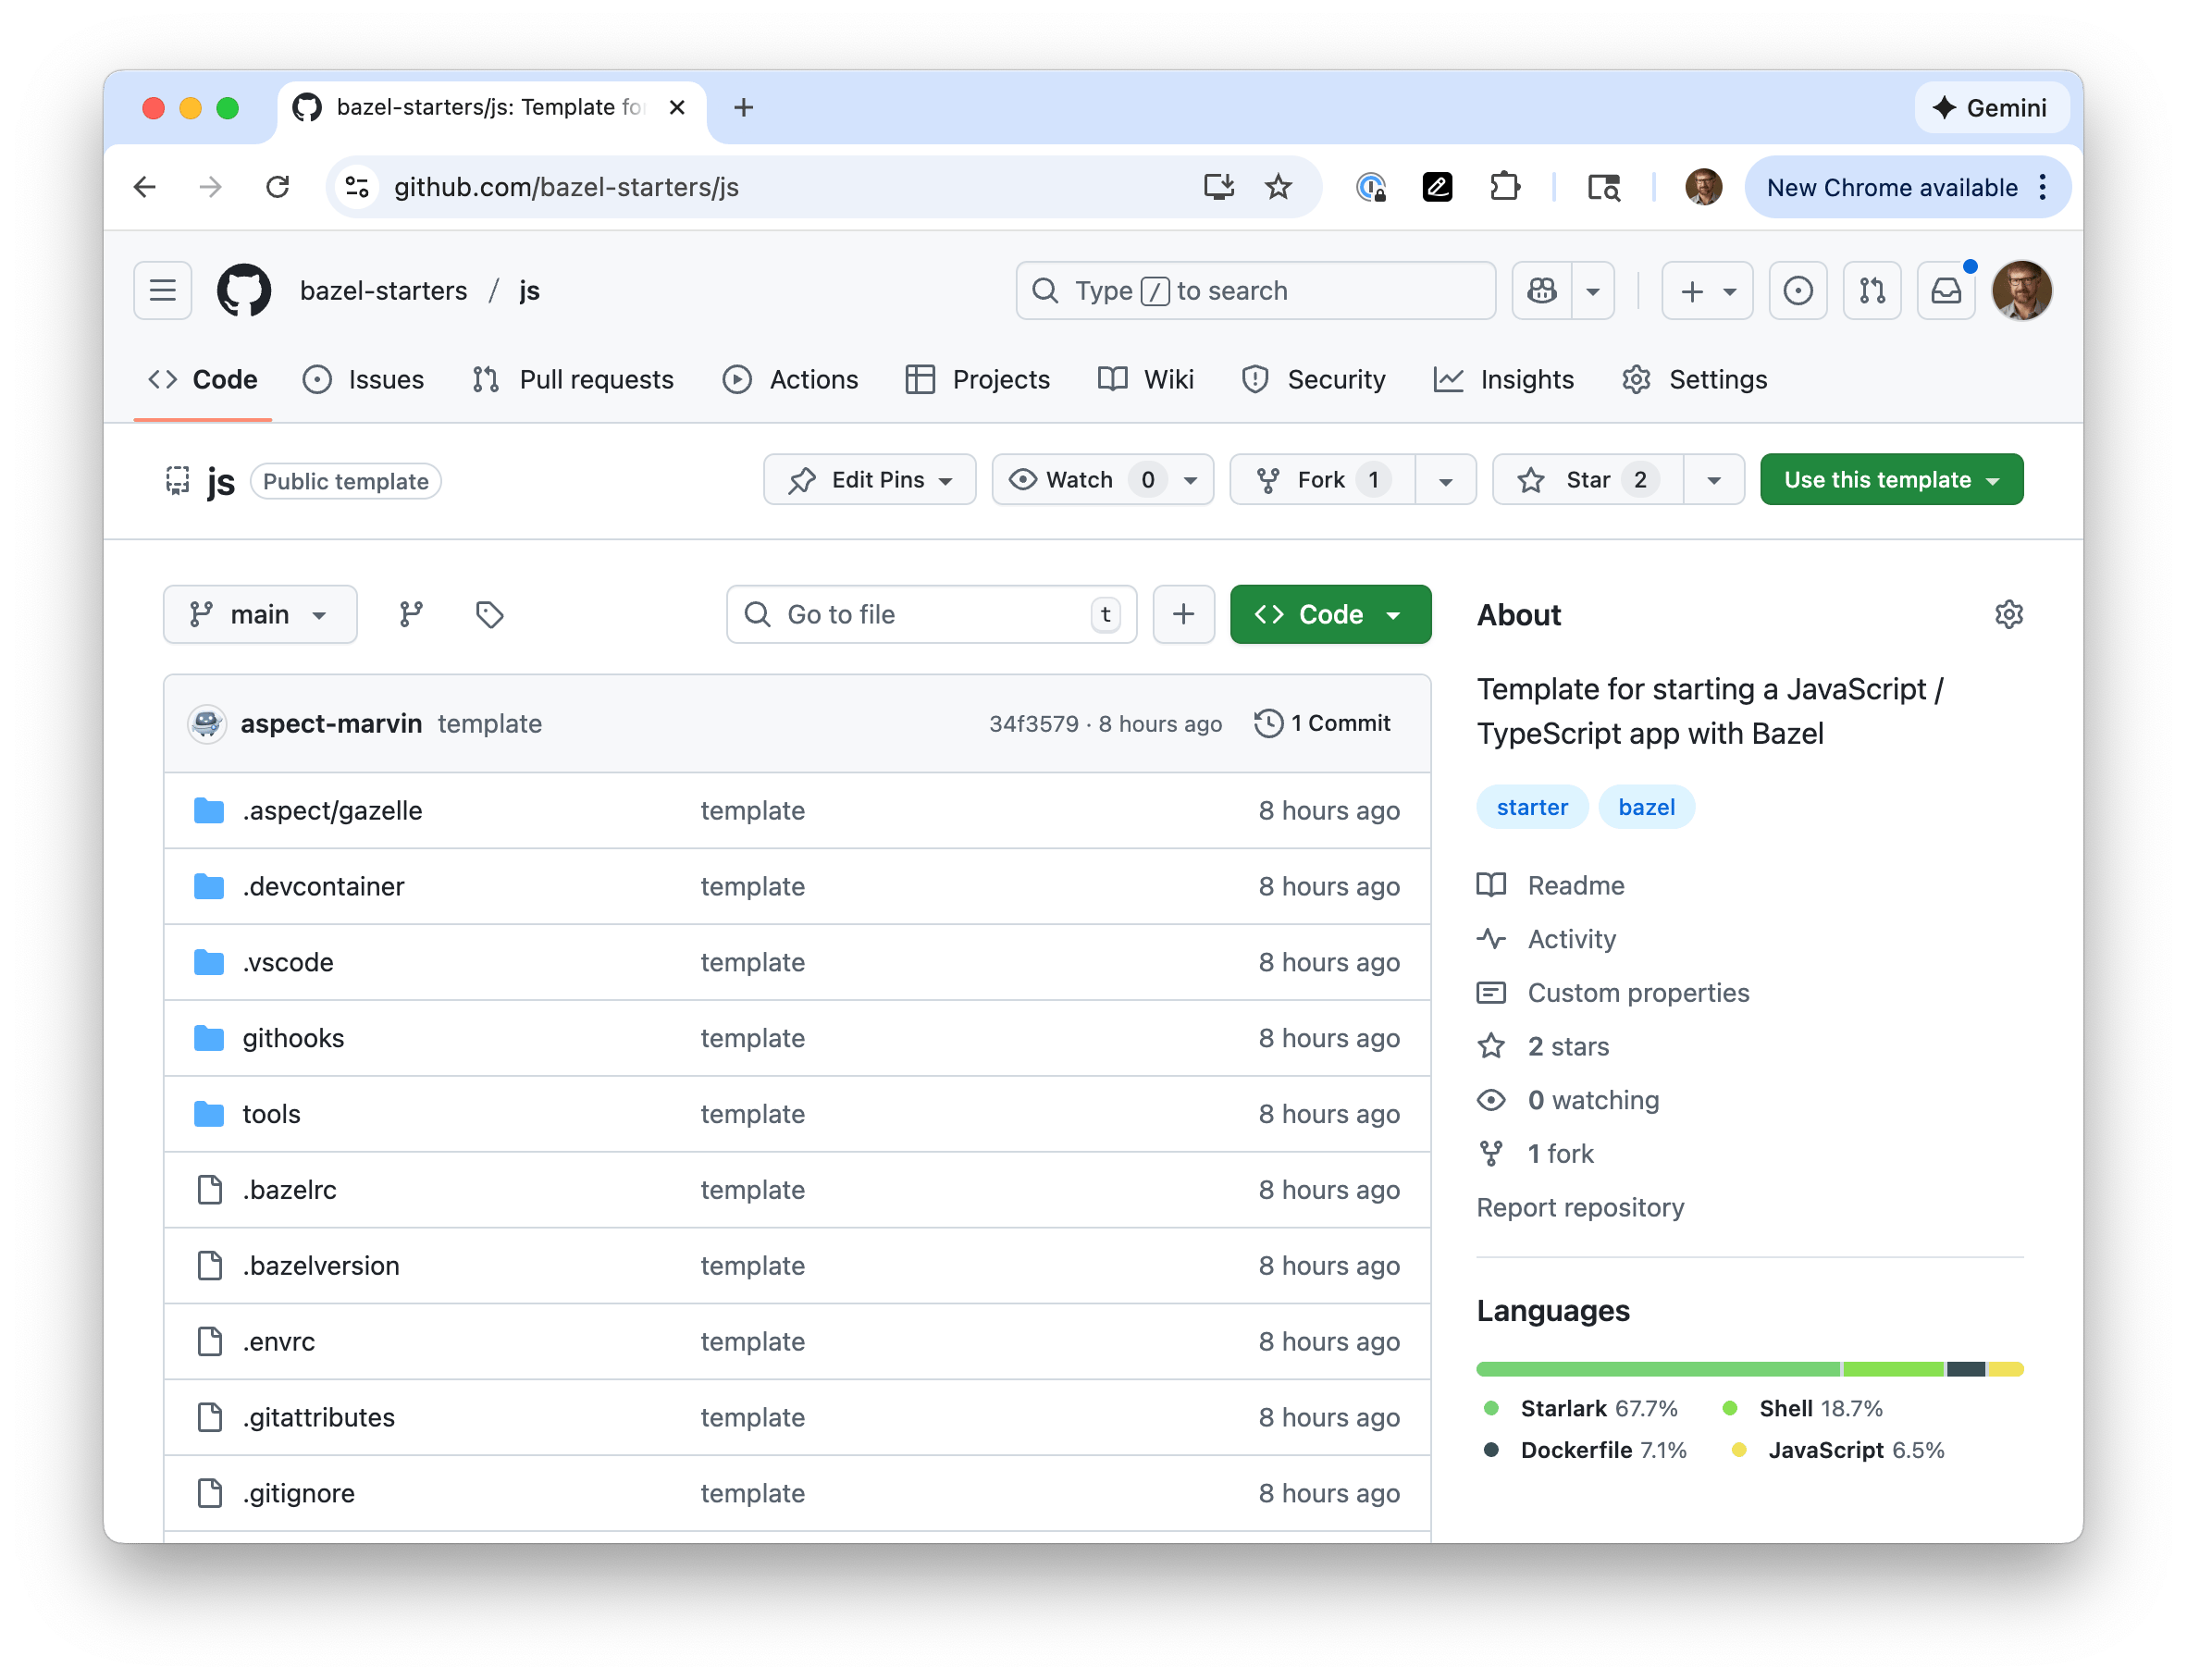
The dev container doesn’t have Node.js tooling installed globally.
Bazel provides Node.js, pnpm, buildozer, ibazel and the other tools, and
bazel_env.bzl puts them on your PATH through direnv.
The Codespace runs direnv allow and bazel run //tools:bazel_env for you when it starts. On your own machine, run those two commands once after cloning.Create a project
Create a new project using one of these methods. Option A allows you to create a permanent project, while option B gives you a playground to experiment with.Option A: Create a new repository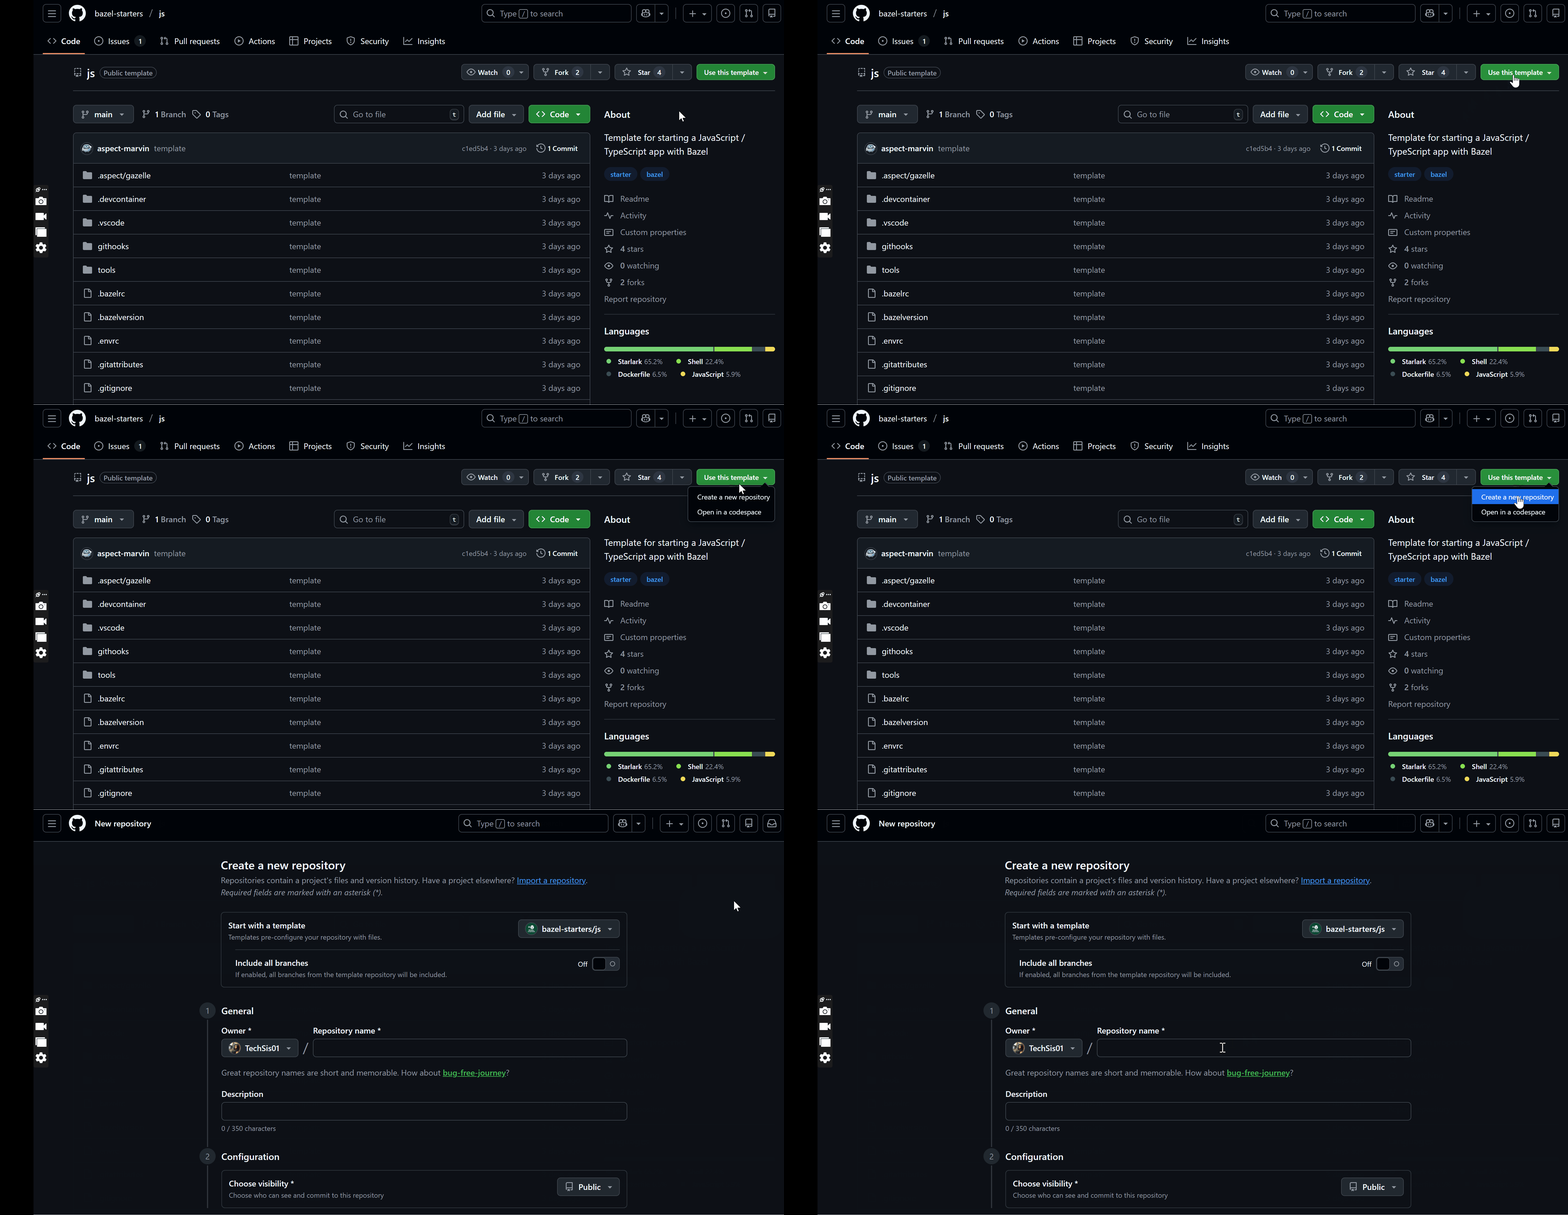
- Click the Use this template green button at the top right corner of the starter repository
- Select Create a new repository from the dropdown menu
- Pick a name for your new repository
- Click Create repository - you’ll be redirected to your new repository with the Bazel template
- Press
,(comma key) to open the project in a GitHub Codespace
GitHub Codespaces comes with Bazel preinstalled via Bazelisk, so no manual Bazel installation is required.
- Click the Use this template green button at the top right corner of the starter repository
- Select Open in a codespace to open the project directly
Install VsCode extensions
Install the VS Code extension when prompted. This primarily gives you access to syntax highlighting in Bazel configurations.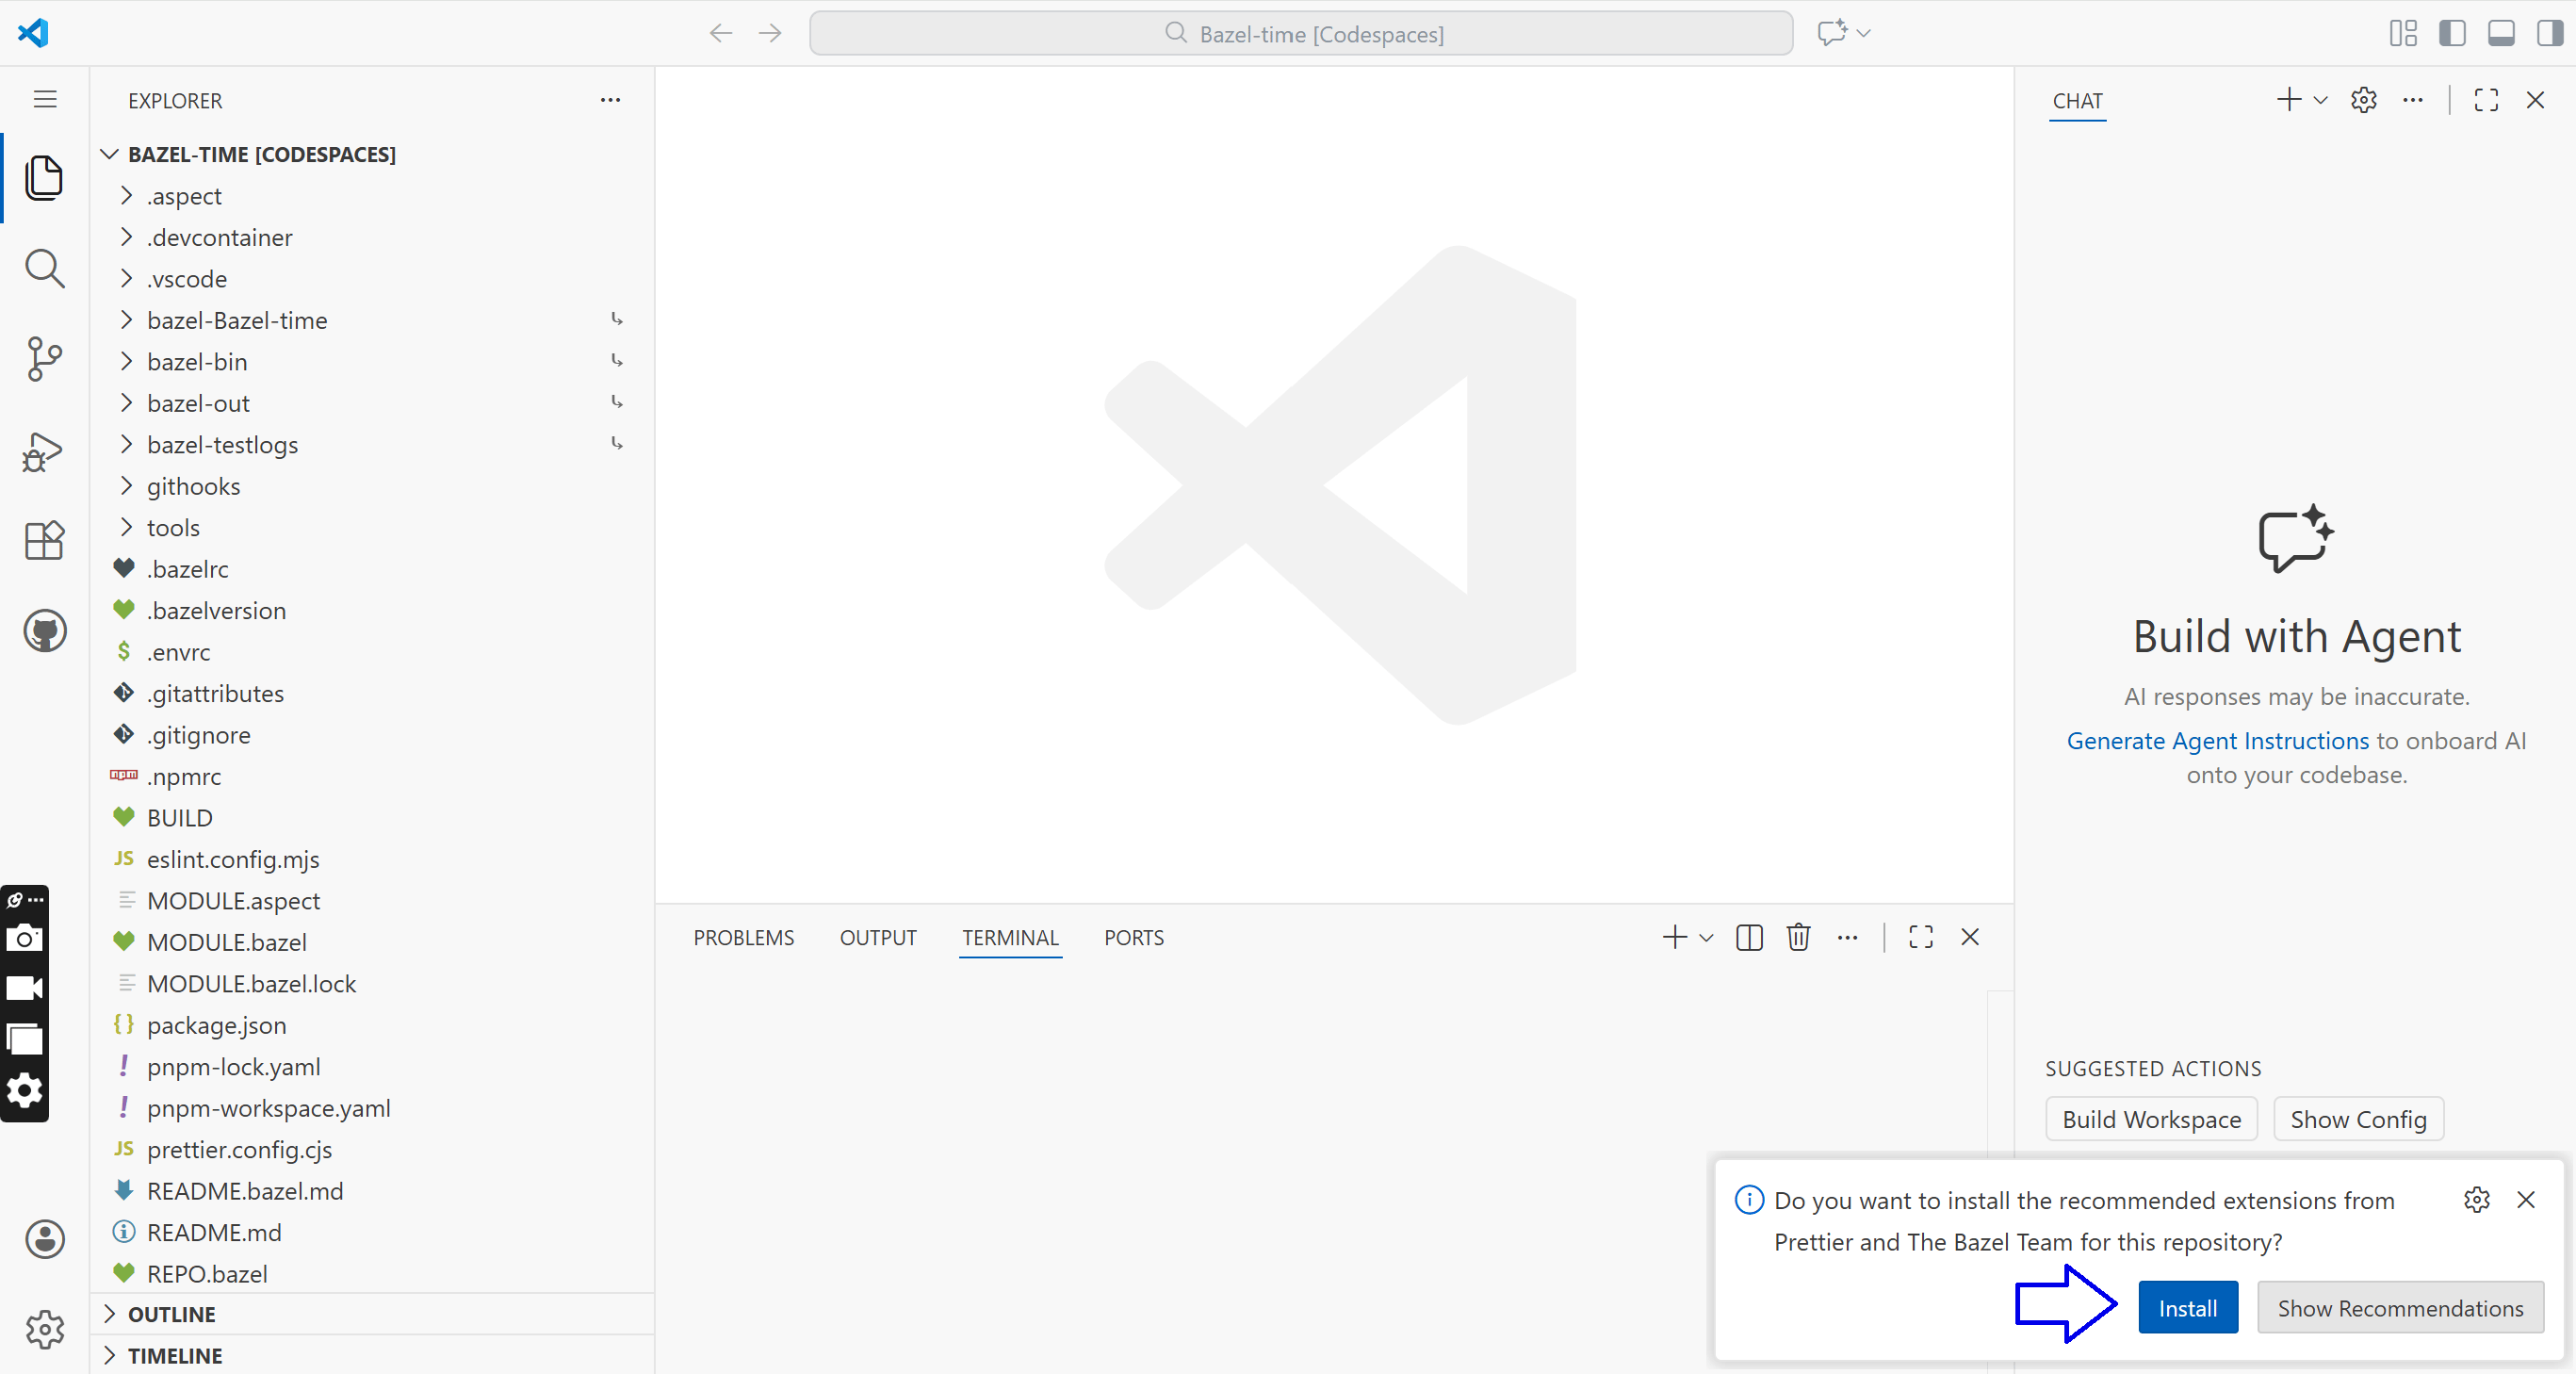
Install packages & dependencies
- Create the folders
packages/helloin your project root folder. The starter ships its own sample underhello/, sopackages/does not exist yet.
- Navigate to the
hellofolder
- Initialize the package
- Set the package to use the ESM module syntax (“import” rather than “require”)
- Install chalk so it’s ready to use by running
The
pnpm-workspace.yaml file at the repository root lists packages/*, so every folder created under packages is treated as a local monorepo package.Create the app
- Create an
index.jsfile in thehellofolder. - Paste this code in your
index.jsfile.
- Add a shortcut to your package.json file, to test the program with plain Node.js first.
- Run the app to test that the program works with Node.js alone.
Hello World! printed out in the terminal in green.Generate the Build file
Run the command below from the Bazel module root to generate the Gazelle creates
BUILD file using Gazelle. Bazel needs this declarative file to understand the application’s inputs and dependencies.packages/hello/BUILD.bazel. The starter’s Orion extension recognizes the hello script you added earlier and generates the js_binary alongside the dependency links. The completed file should be:npm_translate_lock in MODULE.bazel has already converted the pnpm lockfile into targets in the external @npm repository. npm_link_all_packages selects the packages needed here and exposes them through the package-local node_modules target.js_binary then creates a hermetic launcher for index.js. Its data attribute defines the runtime files: the package metadata and linked npm dependencies. Undeclared files are not silently available, which keeps execution reproducible and cacheable.The
hello script must have the simple form node <file> for the starter’s Orion extension to infer a binary. Other script forms are skipped; for those, declare the appropriate rules_js target directly.This works for simple flat package structures. For projects using
tsconfig outDir or rootDir to manipulate output paths, you’ll most likely want to add # gazelle:generation_mode update_only to a parent BUILD file and create BUILD files manually at the package level. The next guide covers this.Run the program with Bazel
- Run this command to verify that the app runs with Bazel. You should see
Hello Worldprinted on the terminal. The label//packages/hellois short for//packages/hello:hello, thejs_binarytarget Gazelle generated.
- Return to the package, then add a shortcut to its
package.jsonso you can run the program without typing the full label.
- Run the program